Hoo are You? Student Artist - Kira Ingersoll, Alaska 2024
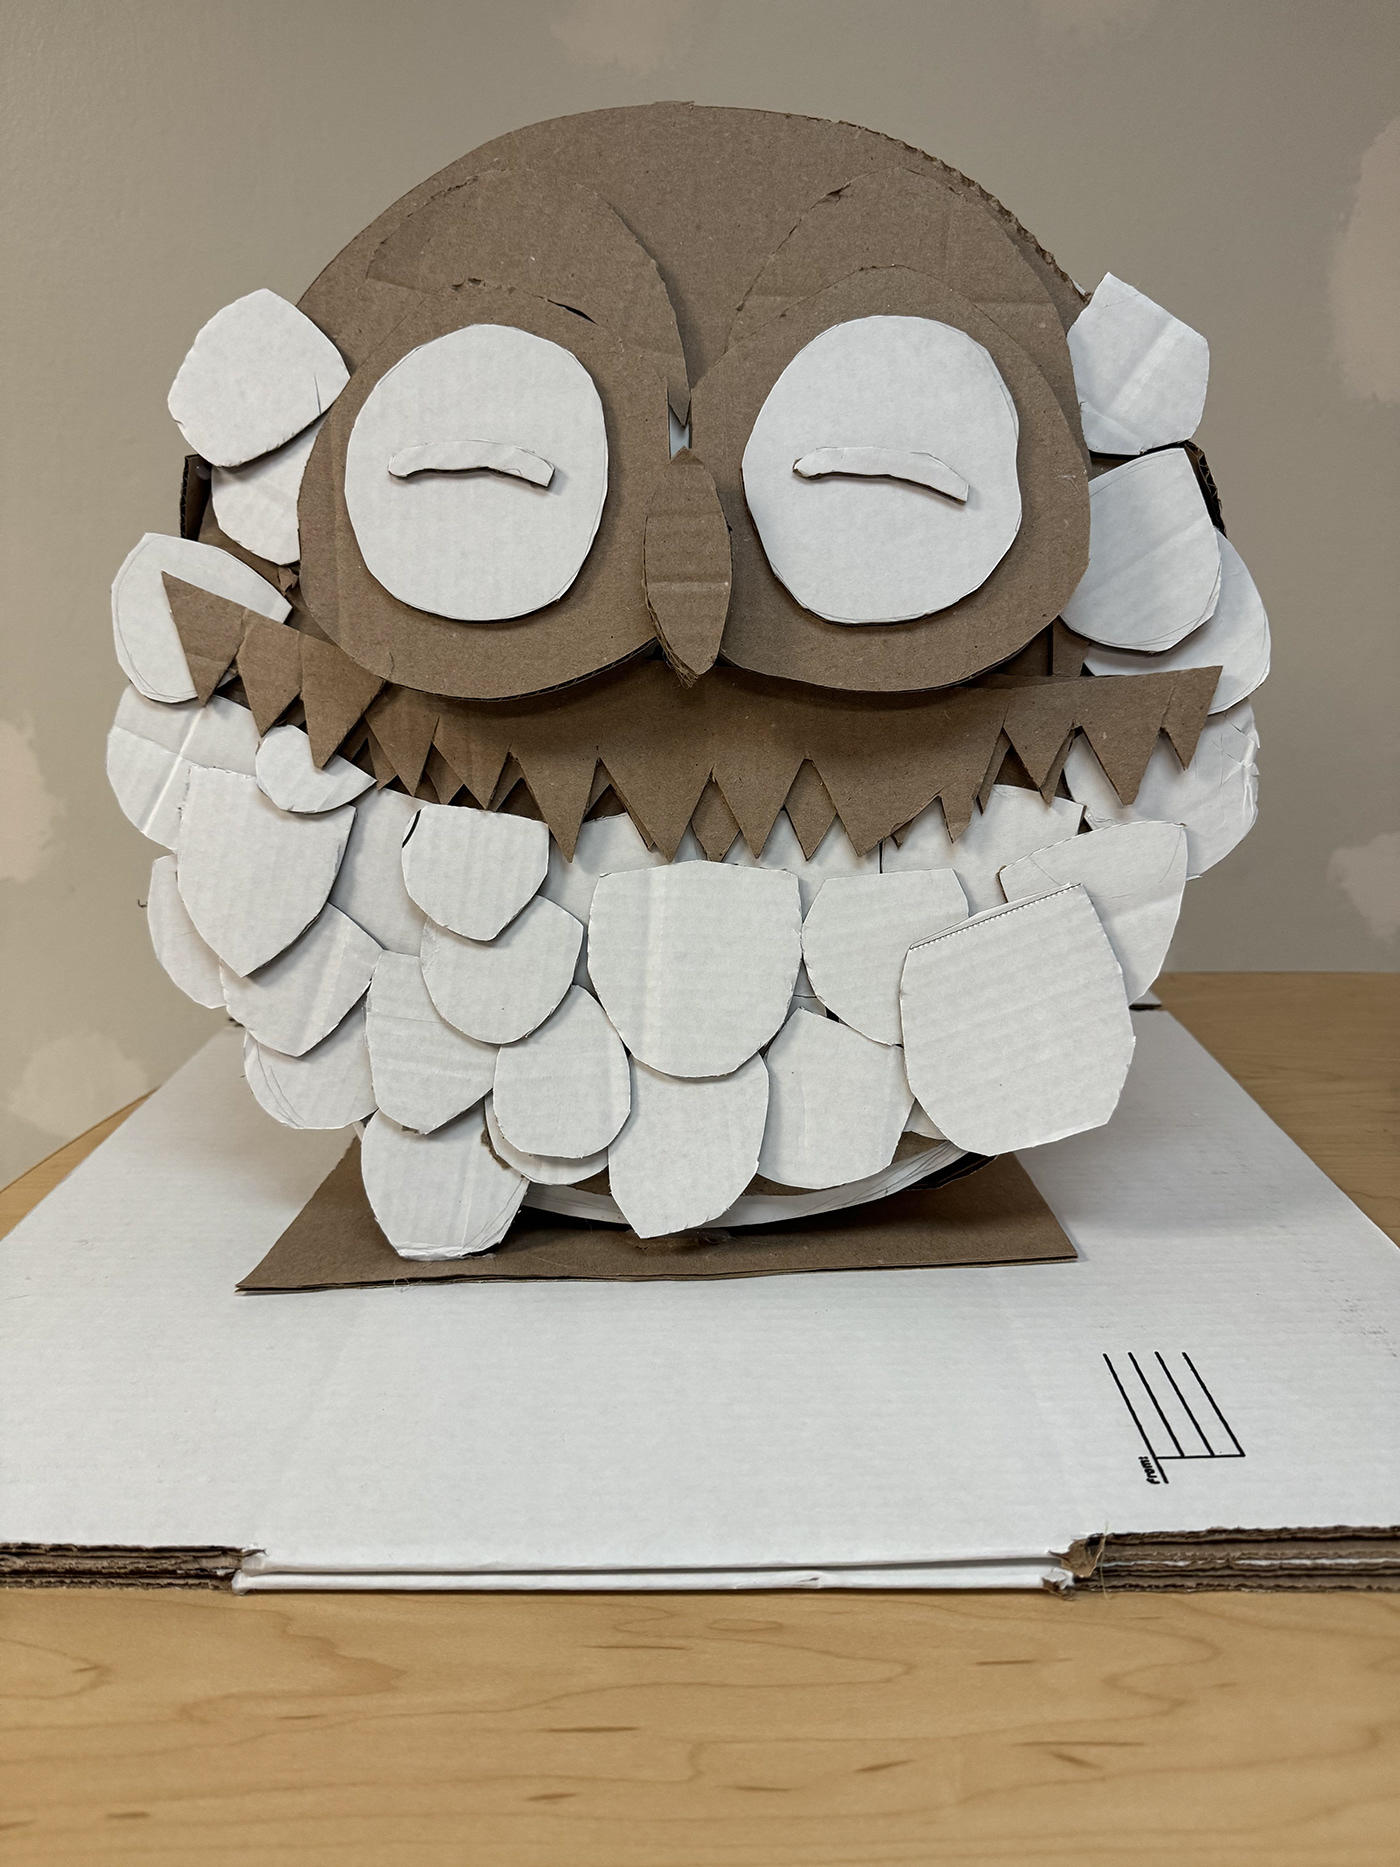
The inspiration for this project was a small wooden owl I received as a gift a while ago. This piece is made of industrial cardboard and is 1x2 ft. I used hot glue to keep it together. My brother used to make a lot of cardboard projects but I had never made this kind of art project before. So it was a bit of a learning curve. I couldn't figure out how to round the owl's back with stiff cardboard. This was my final project and I think it summarizes how far I have come in making three-dimensional projects. I cut out circles to make the body and glued them together with some one-inch cardboard bars in between to make it larger. I stacked up pieces to make the nose and the base of the eyes to make them stand out more. I added layers on the chest to make the owl look like it's chest is puffed out.
Cloud Dragon, Student Artist - Kira Ingersoll, Alaska 2024

So this was my first project of the semester. We had to make these intricate three d paper pieces, and I had no clue what I was going to make. Before this class, I spent my time making precut paper theaters from Studio Ghibli. So this project made my imagination stretch. I had to make a lot of cuts inside the paper so it would bend without ripping. Since the dragon can curl around itself I would say I achieved my goal.
Thick Otter Student Artist - Kira Ingersoll, 2024


This is the precursor for the wire project that I did next. The drawing turned out better than the wire sculpture. I had an easy time with the art since I have taken a lot of drawing classes. I used paper and a mechanical pencil. Shading is a new skill I acquired recently before this year I used to use only colored pencils to make value. I looked up the skeleton of an otter and the side and front view of an otter, then I drew what I saw and added lines to mimic the wire.
Wire Otter. Student Artist - Kira Ingersoll, 2024

I would have taken a better photo but I live in a small space so I threw it out. I was running out of room in my room. I learned how to connect wires securely and how to make three-dimensional sculptures out of wires. I used to only use wire for jewelry making so I used a lot more wire than usual. I cut the wire and formed them into circles and then connected the circles with lines of thicker wires. I made the facial features and attached the eyes and nose ( which were also coiled wire ).
Oddly Shaped Sculptures, Student Artist - Kira Ingersoll, 2024
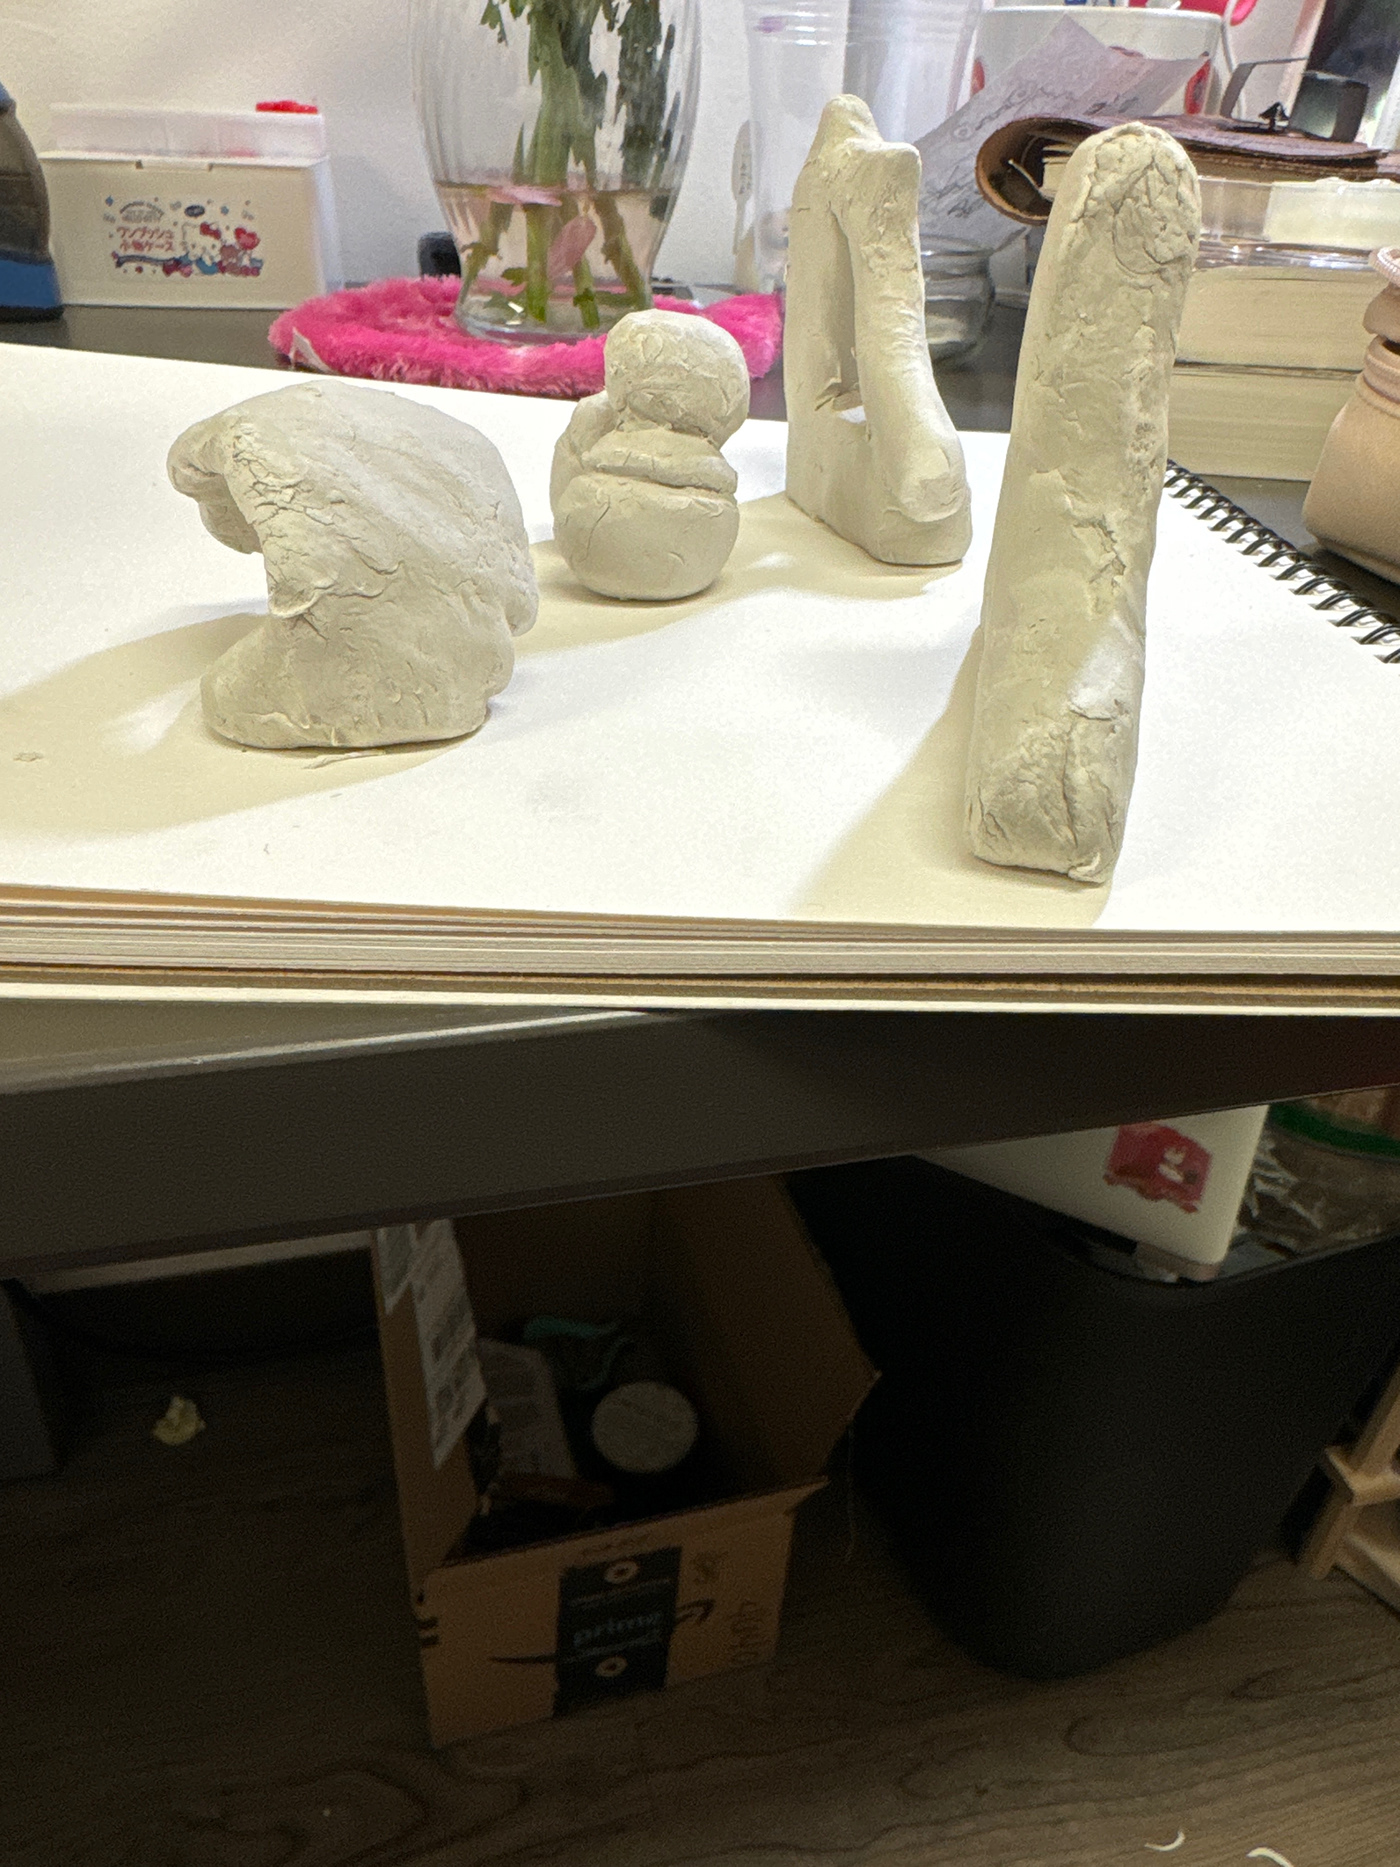
The clay used is an oil-based clay so it dried really fast and it didn't stick together after it was pulled apart. I guess I realized that I had to make these really fast and that I couldn't pull apart and stick the clay together. For next time I learned I need to oil my hands. I started with oil-based clay and formed the oddest shapes I could before the clay dried out. Then I smoothed it out with my many clay-shaping tools.
Tile Design, Student Artist - Kira Ingersoll, 2024

I used a combination of baroque and sinister diagonals. I had no idea how to make this into an actual tile so the tile looks strange. I watched the math videos about how to make tiles and then took the easiest-to-understand parts of it ( the diagonal etc. etc.) and put them on paper.
Knick Knack Tile, Student Artist - Kira Ingersoll, 2024

I used some quick dry plaster, I couldn't find the recommended kind so I had to make do. I looked around for fun little objects to press into the spaces between the baroque lines. There were marbles, Totoro, a cat-shaped fingernail cutter, and a small plastic bow. Then I mixed the plaster, which caused a huge mess, and put it into a Tupperware. I pressed the objects in and let them dry. I painted it with watercolor so that the shapes stood out more. Mixing the plaster was hard because I had to figure out how much water to put into the plaster mix. I learned that I should do a test mix first.
Wrapped Project

I had a lot of ideas for this project. We were supposed to find an object to disguise but keep the shape. I used a magic eight-ball I had for years. I went to the Joanns and grabbed some buttons and ribbons on sale that had a similar color palette. The buttons would fill out the large part of the ball but the ribbons would hide the black part.
It Could Be a Magic Eight Ball, Student Artist - Kira Ingersoll, 2024


I used hot glue and placed buttons so that the same colored buttons didn't touch each other. Then I cut ribbons, folded them, and placed them into the left over black parts. This was just an assembly project for me. The hard part was deciding what object I should disguise.
The Clock Broke Afterwards, Student Artist - Kira Ingersoll, 2024

This project was meant to disassemble an object and then display it. I didn't have anything to take apart. My brother lent it to me. I took it apart and placed the parts in order onto a piece of white cardboard. I used tape for the glass because it was falling and I couldn't figure out how to nail the glass to the board. It did not work later, it was working before.
Time is Running Out, Student Artist - Kira Ingersoll, 2024

So I started with a clock, I was going to make it into a turtle or one of the many animals with a circle in the body but I realized I had a perfectly round object I could reuse. I used my magic eight-ball project to make the turtle. I put the buttons and caps and marbles to make a kind of rock pile on a beach and built the ground up with buttons and small erasers. I used hot glue so there aren’t any attachments other than the flippers on the turtle and I think that it looks seamless. Also, because I want it to look like a turtle on a beach the magic eight-ball and cardboard fins I cut out convey that message well. I also wanted to make the clock into a beach, like it’s full of garbage or things maybe that shouldn’t be there like medicine caps. I attached so many pretty small things onto the clock surface I could remove the turtle and have a clock that looks like someone piled some things they wanted to throw out on top. I used a piece of cardboard from a Milk Cow face mask package to make the face of the turtle.


